
Rainbow Wall Mural Tutorial Recap
Below I am sharing the process to Ruby’s Rainbow wall mural on my IGTV channel. This mural was inspired by the Ane Wall Decor Elsi Rainbow Wallpaper.
All Paint used in this project is Benjamin Moore paint.
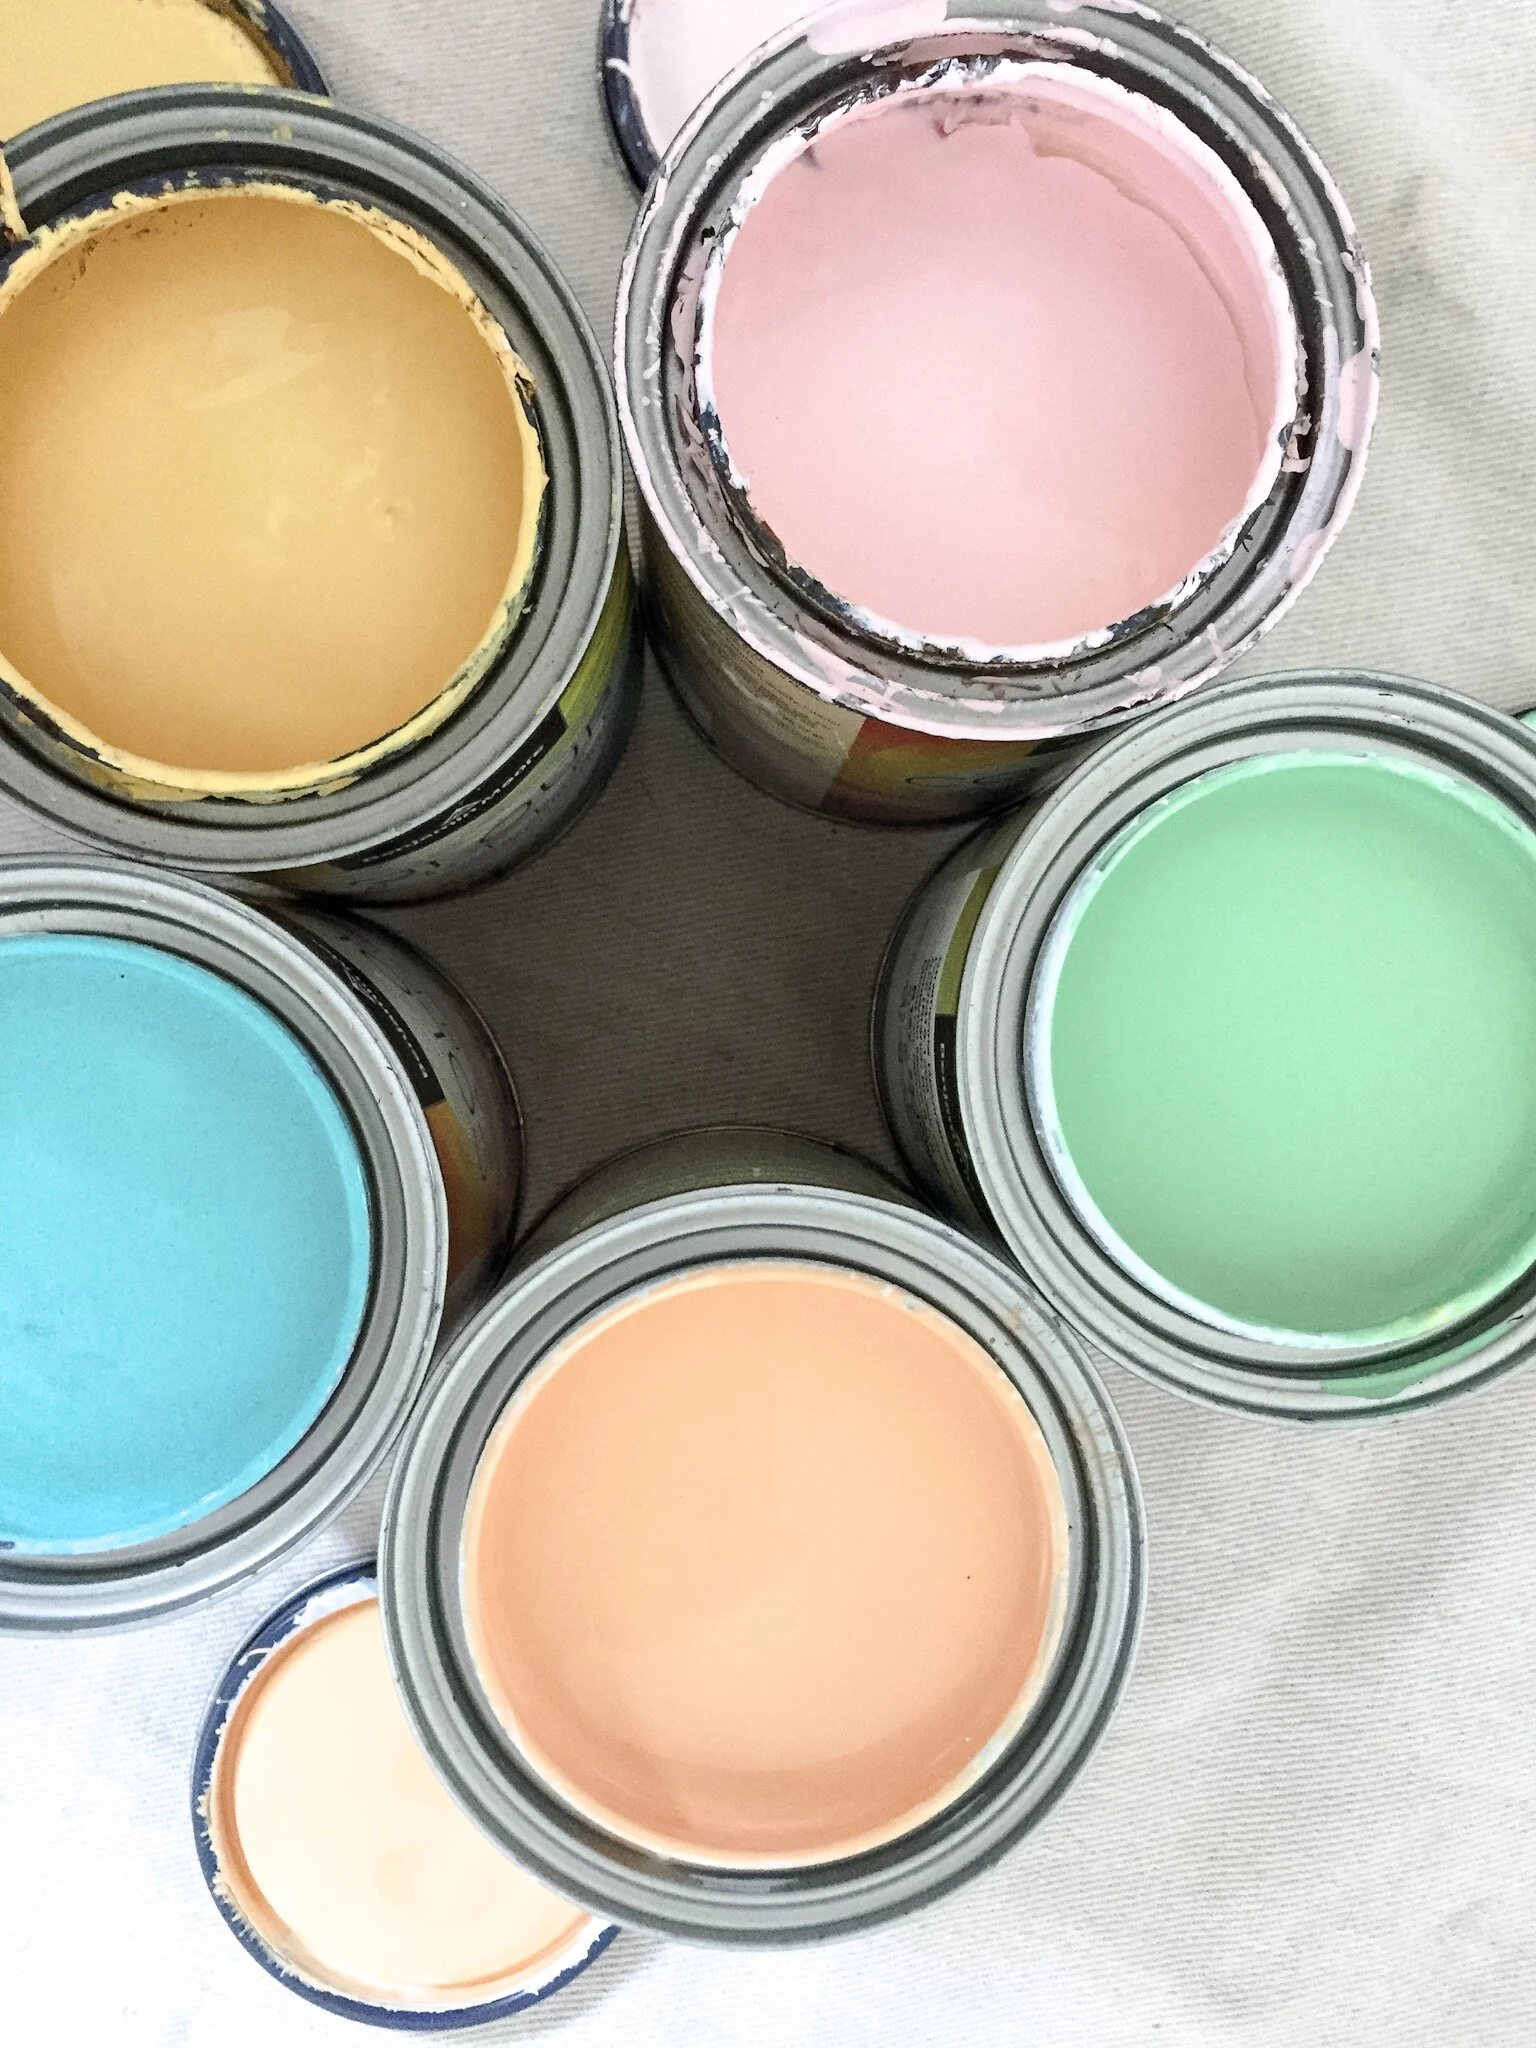
Pink- Springy Peach
Orange-Vivid Beauty
Yellow- Semolina
Green- Branch Brook Green
Blue- Teal Tone


Thanks For Watching and Reading!
Lindsay Mills- Ruby Thursday Home
The full tutorial of how I applied it is above on the video but basically, every color, I mixed a 1 part paint to 3 parts glaze mixture.
I created a perfect arch by using string, a push pin, and a pencil. Every line as I went, the string got shorter to accommodate the arch. Using the pencil lines as my guide it was quite easy to achieve the look.
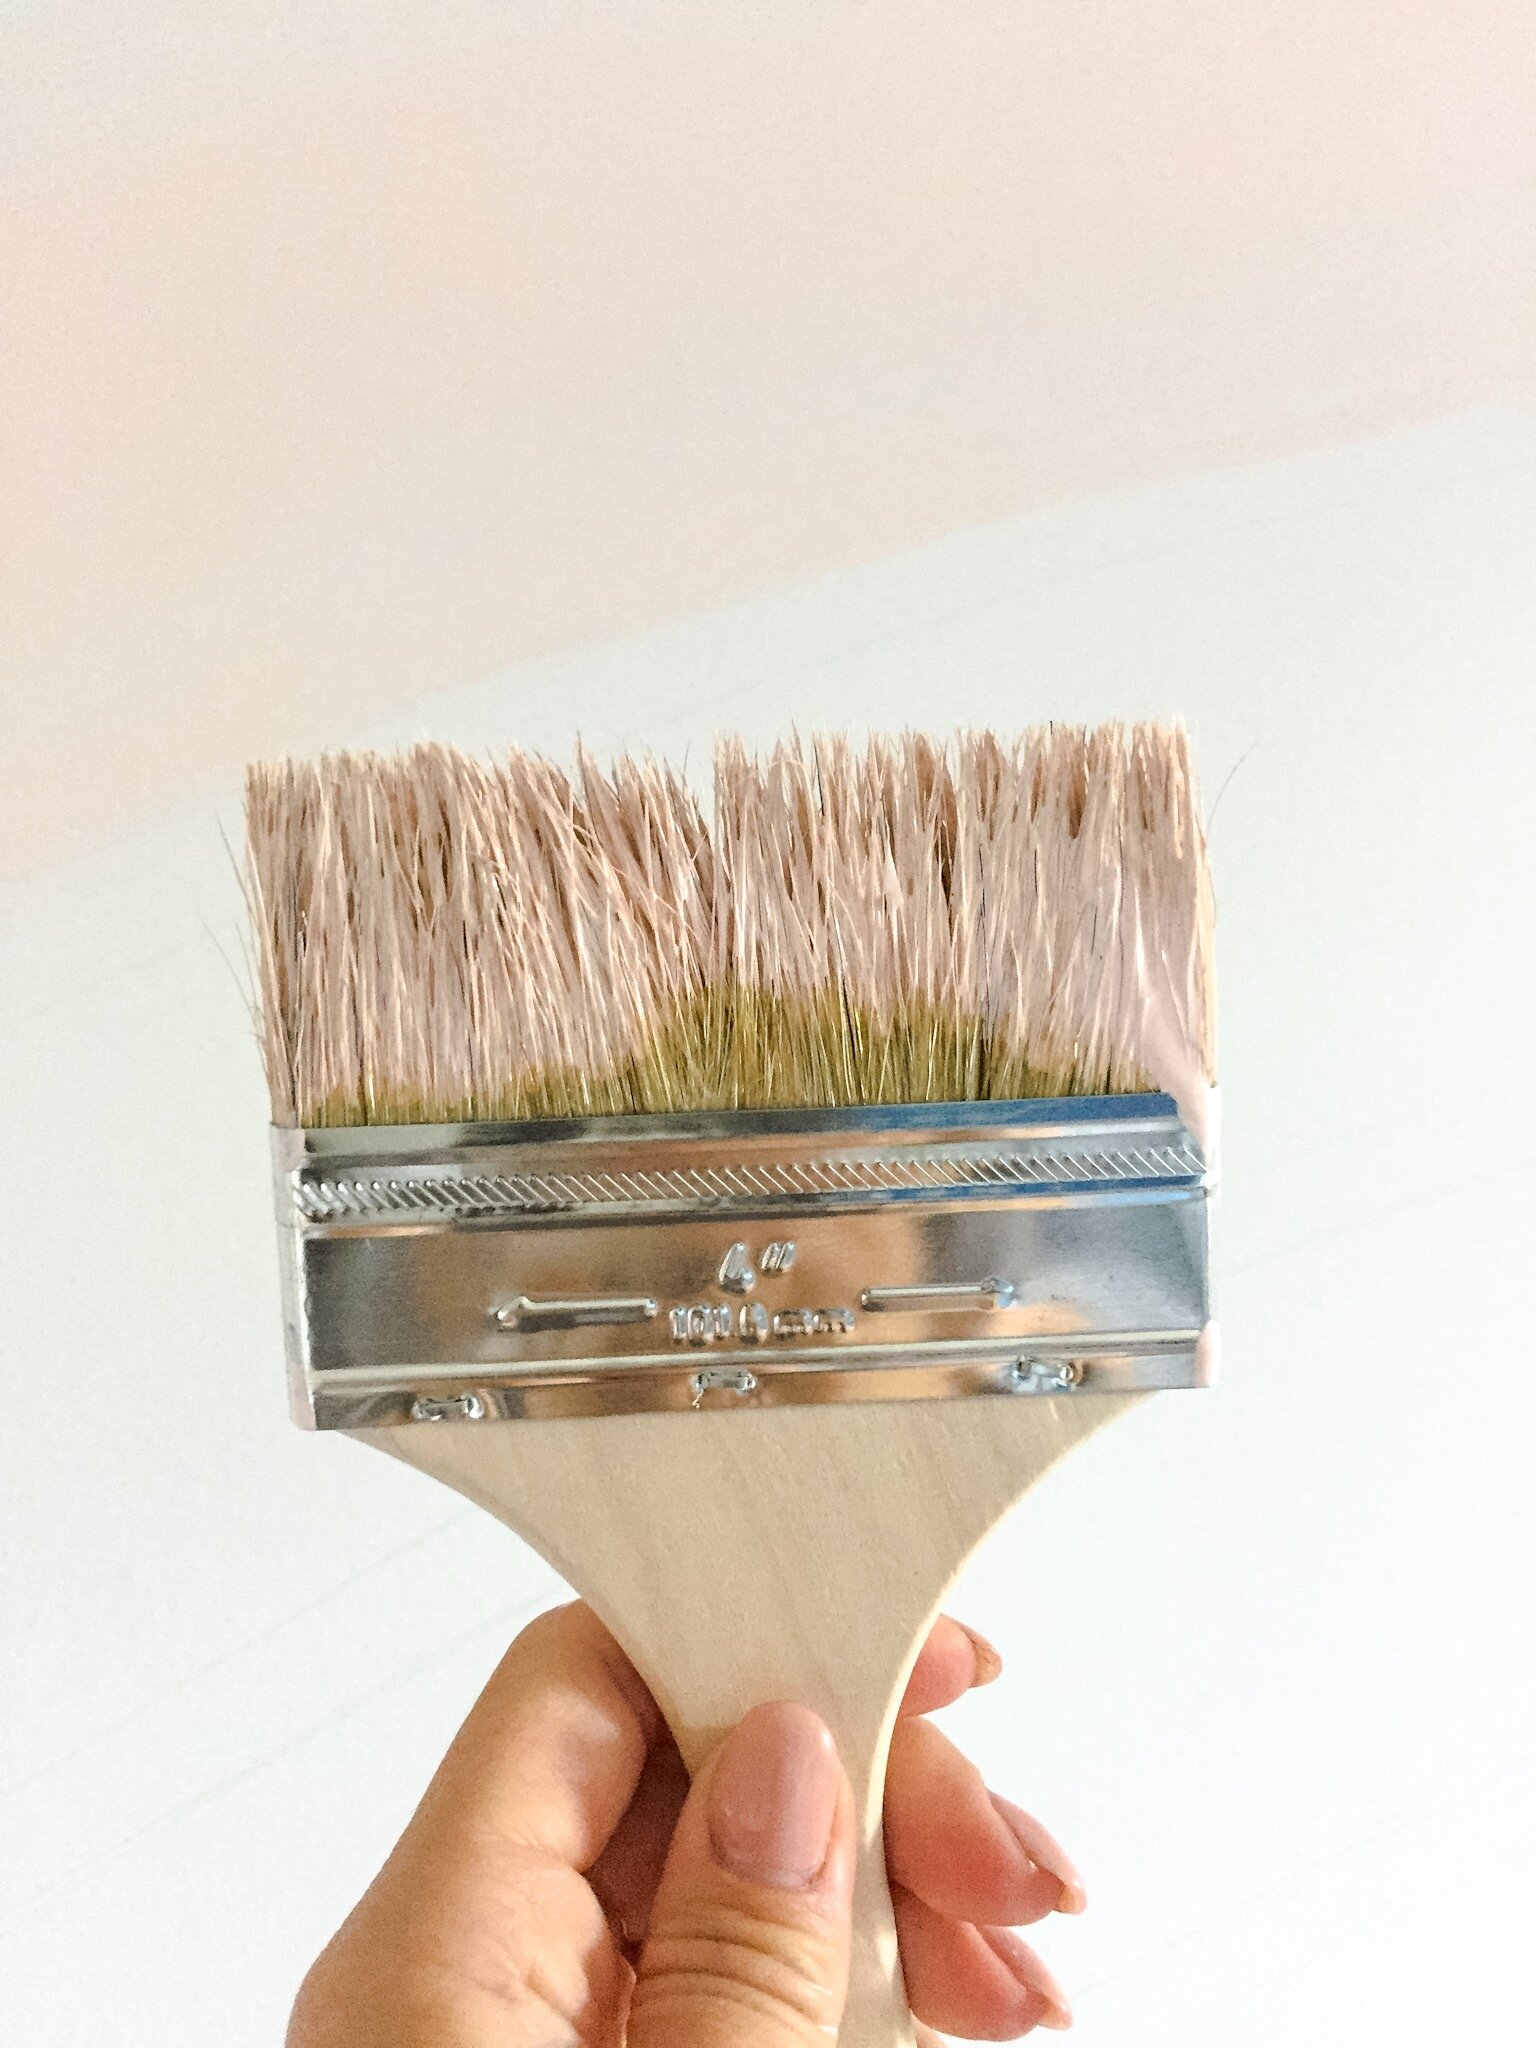
Using a 4” wide short bristle brush, I did light strokes until the colour was even yet soft and kind of water colour -esque all the way across the arch.
After all the Colours were complete, I went back through with the same 4 “ Bristle brush (washed of course) and used the base colour (white diamond) to really soften the lines and make them look really subtle. Because the choices of this rainbow colours were purely my daughters, I had to make some compromises. It was much brighter than I had originally anticipated or imagined but she really enjoys it!